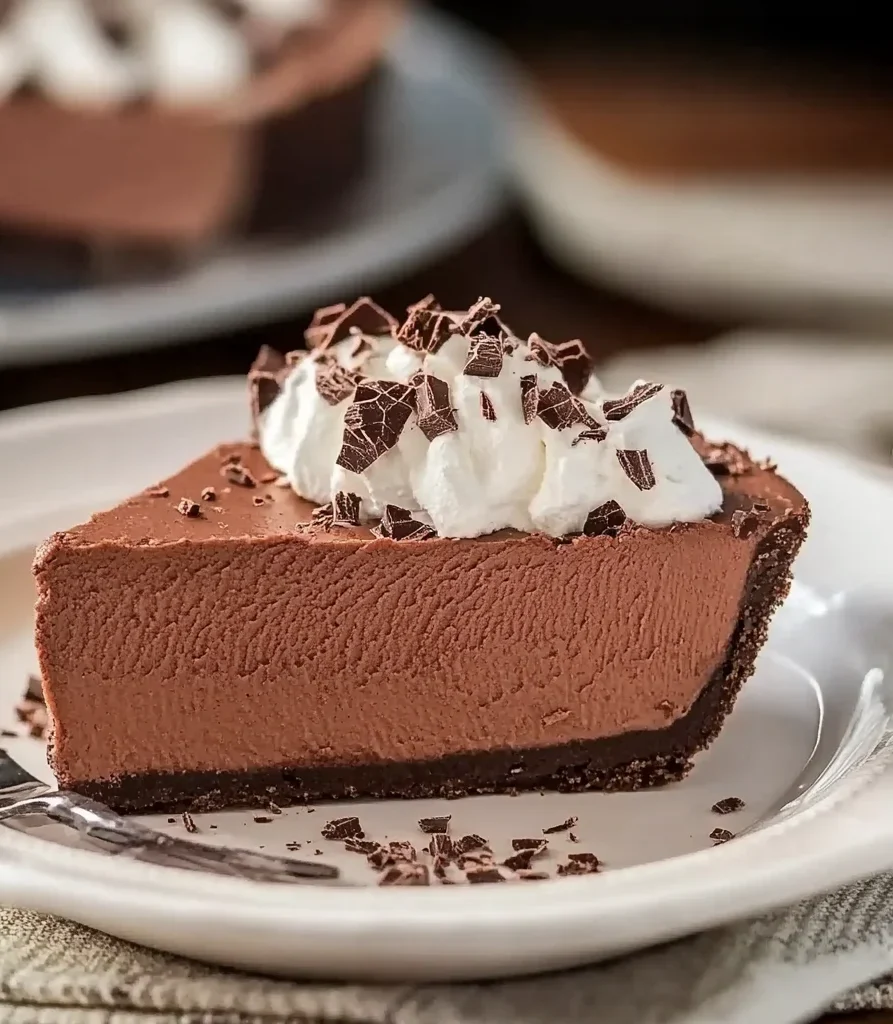
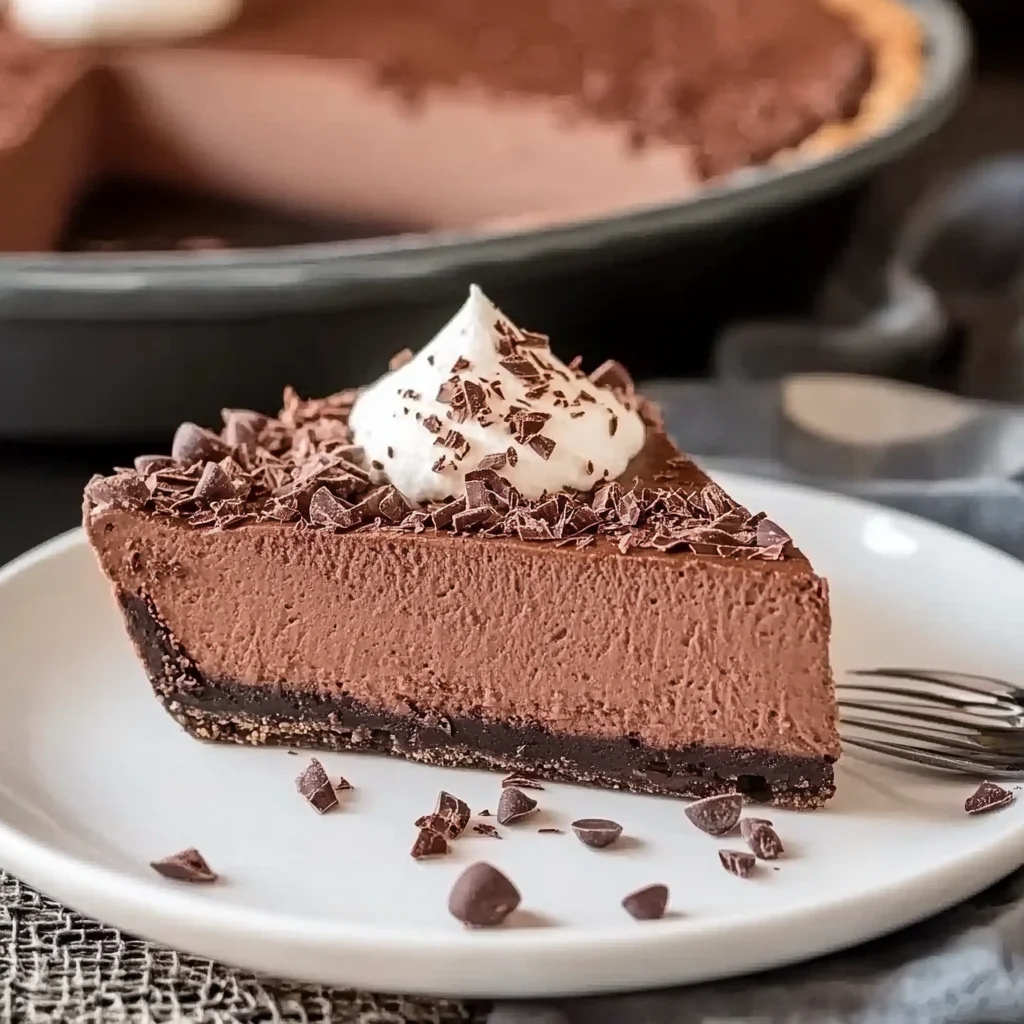
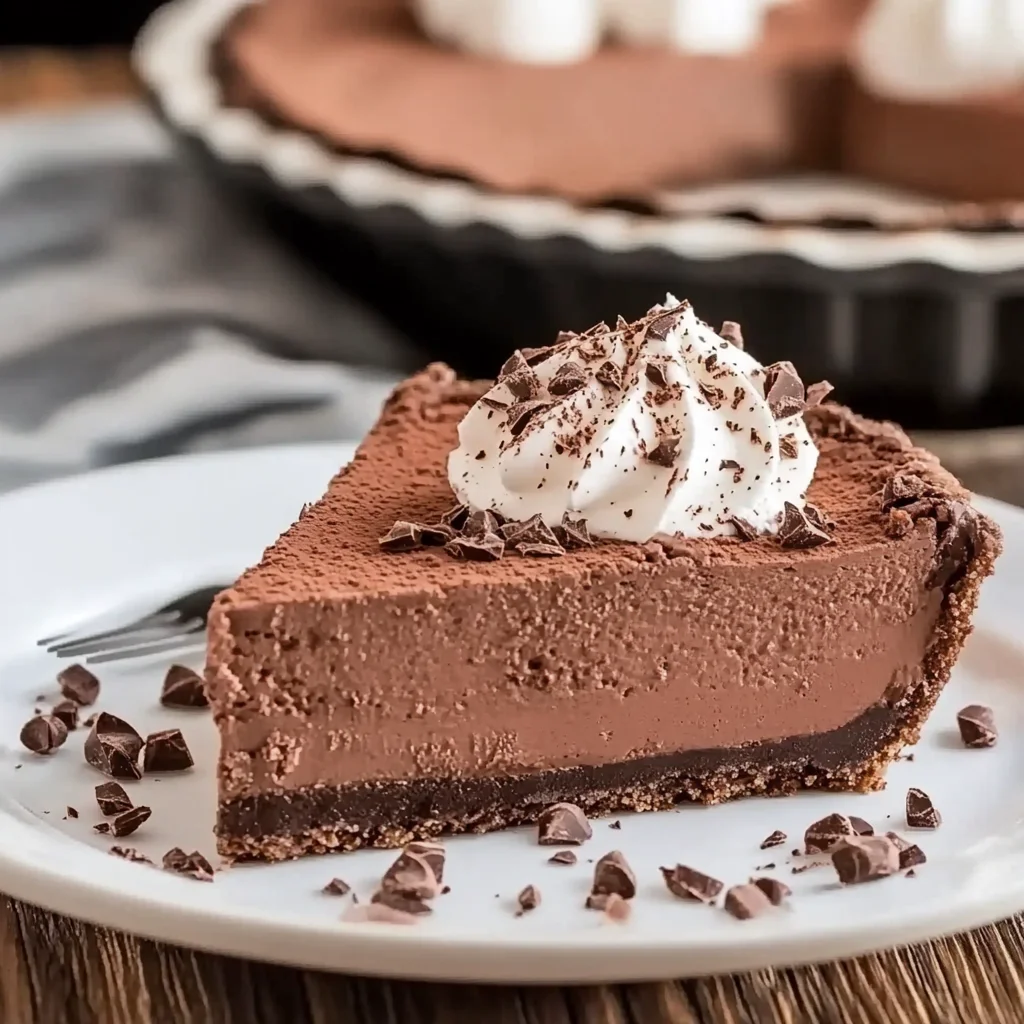
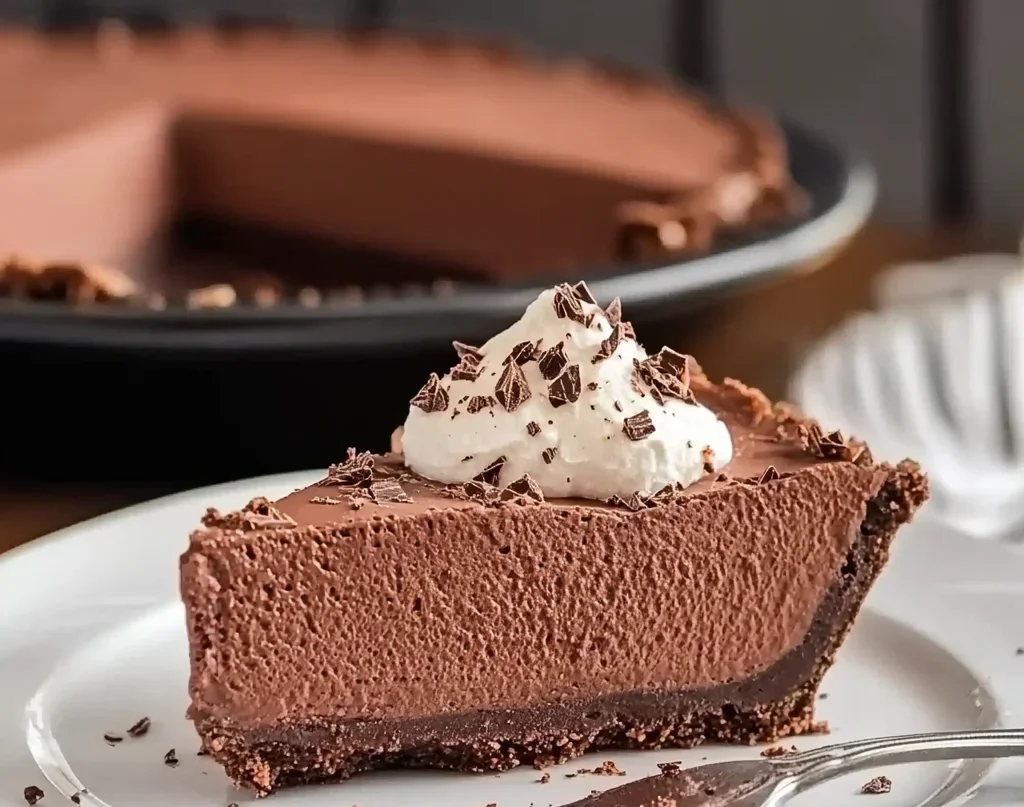
A Frozen Chocolate Pie is a delightful treat that brings happiness to any occasion. With its creamy filling made from melted Symphony candy bars and a crunchy Oreo crust, this pie is sure to impress your family and friends. Whether you’re celebrating a birthday, hosting a dinner party, or just craving something sweet, this dessert is the perfect solution. Its rich chocolate flavor combined with the unique toffee notes makes it not just delicious but also memorable.
Jump to:
- Why You’ll Love This Recipe
- Tools and Preparation
- Essential Tools and Equipment
- Importance of Each Tool
- Ingredients
- For the Crust
- For the Filling
- For Garnish
- How to Make Frozen Chocolate Pie
- Step 1: Prepare the Crust
- Step 2: Bake the Crust
- Step 3: Make the Filling
- Step 4: Whip the Cream
- Step 5: Assemble and Freeze
- How to Serve Frozen Chocolate Pie
- Classic Presentation
- Creative Serving Suggestions
- Themed Dessert Platter
- How to Perfect Frozen Chocolate Pie
- Best Side Dishes for Frozen Chocolate Pie
- Common Mistakes to Avoid
- Refrigerator Storage
- Freezing Frozen Chocolate Pie
- Reheating Frozen Chocolate Pie
- Frequently Asked Questions
- How long does it take to make Frozen Chocolate Pie?
- Can I use different chocolate bars?
- What can I substitute for Symphony bars?
- Is this recipe suitable for special diets?
- How should I serve Frozen Chocolate Pie?
- Final Thoughts
- 📖 Recipe Card
Why You’ll Love This Recipe
- Quick and Easy: This recipe requires only 20 minutes of prep time, making it simple for anyone to whip up.
- Decadent Flavor: The combination of Symphony bars and whipped cream creates a rich chocolate experience that melts in your mouth.
- Versatile Dessert: Perfect for summer gatherings or winter holidays, this pie fits every occasion beautifully.
- Make-Ahead Option: Freeze it ahead of time for stress-free dessert planning; it’s ready when you are!
- Crowd-Pleaser: With its irresistible taste and attractive presentation, this pie will leave your guests asking for seconds.
Tools and Preparation
To make your Frozen Chocolate Pie effortlessly, you’ll need a few essential tools. Having these items on hand will streamline the process and ensure great results.
Essential Tools and Equipment
- Food processor
- 9-inch pie plate
- Mixing bowls
- Microwave-safe glass bowl
- Whisk or electric mixer
Importance of Each Tool
- Food processor: Efficiently crushes Oreos into fine crumbs for a perfect crust.
- 9-inch pie plate: Provides the ideal size for serving 8 generous slices.
- Mixing bowls: Allows for easy combining of ingredients without mess.
- Whisk or electric mixer: Helps achieve stiff peaks in whipped cream for a light texture.
Ingredients
A melt in your mouth chocolate pie made with melted Symphony candy bars.
For the Crust
- 18 Oreos, finely crushed (I use my food processor)
- 3 Tbsp butter, melted
For the Filling
- 2 (4.25 oz) Symphony bars (we like the ones with toffee)
- 1/4 cup milk
- 1 cup cream, whipped
- 1 tsp vanilla
For Garnish
- Additional whipped cream (optional)
- Broken Symphony bars (optional)
How to Make Frozen Chocolate Pie
Step 1: Prepare the Crust
- In a mixing bowl, combine the crushed Oreos and melted butter.
- Stir until well blended.
- Press the mixture onto the bottom and up the sides of a 9-inch pie plate.
Step 2: Bake the Crust
- Preheat your oven to 375°F (190°C).
- Bake the crust for 8-10 minutes until set.
- Allow it to cool completely before adding the filling.
Step 3: Make the Filling
- Break the Symphony bars into pieces and place them in a large microwave-safe glass bowl along with the milk.
- Melt at 50% power in the microwave until smooth, stirring occasionally.
- Let it cool slightly after melting.
Step 4: Whip the Cream
- In another bowl, whip the cream until stiff peaks form.
- Gently beat in the vanilla extract.
- Fold the whipped cream into the cooled chocolate mixture until combined.
Step 5: Assemble and Freeze
- Spoon the filling into the cooled crust evenly.
- Cover the pie with plastic wrap and freeze for at least 3 hours.
- Before serving, let sit at room temperature for about 10 minutes.
- Garnish with additional whipped cream and broken Symphony bars if desired.
Enjoy your delicious Frozen Chocolate Pie!
How to Serve Frozen Chocolate Pie
Serving Frozen Chocolate Pie can elevate your dessert experience. With its rich and creamy texture, there are several delightful ways to present this indulgent treat.
Classic Presentation
- Whipped Cream: Top each slice with a generous dollop of whipped cream for added richness.
- Chocolate Shavings: Use a vegetable peeler to create chocolate shavings from a bar for an elegant garnish.
- Fresh Berries: Add a handful of fresh raspberries or strawberries on the side for a pop of color and acidity.
Creative Serving Suggestions
- Ice Cream Scoop: Serve alongside a scoop of vanilla ice cream for a delightful contrast in textures.
- Chocolate Drizzle: Drizzle warm chocolate sauce over the pie slices for an extra touch of sweetness.
- Mint Leaves: Garnish with fresh mint leaves to enhance the visual appeal and add a refreshing hint.
Themed Dessert Platter
- Mini Treats: Pair small bites like brownies or chocolate truffles on the platter alongside your Frozen Chocolate Pie.
- Fruit Compote: Serve with a side of berry compote to balance the sweetness of the pie.
How to Perfect Frozen Chocolate Pie
Creating the perfect Frozen Chocolate Pie is all about attention to detail. Here are some tips to ensure your pie turns out amazing every time.
- Use Quality Chocolate: Select high-quality Symphony bars for the best flavor and texture in your filling.
- Allow Proper Cooling: Make sure both the crust and melted chocolate mixture cool adequately before combining them to maintain the pie’s structure.
- Whip Cream Correctly: Whip the cream until stiff peaks form; this will give your pie its light, airy texture.
- Freeze Long Enough: For optimal firmness, freeze the pie for at least three hours before serving. This allows it to set properly.
- Room Temperature Before Serving: Let the pie sit at room temperature for 10 minutes before cutting; this makes slicing easier.
- Experiment with Flavors: Add different extracts or toppings, like almond or orange zest, for unique flavor profiles.
Best Side Dishes for Frozen Chocolate Pie
When enjoying Frozen Chocolate Pie, consider pairing it with some complementary side dishes. These options will enhance your dessert experience without overshadowing its decadent flavors.
- Vanilla Ice Cream: A classic pairing that adds creaminess and balances the richness of the pie.
- Fresh Fruit Salad: A light mix of seasonal fruits can refresh your palate after indulging in chocolate.
- Chocolate Mousse Cups: Mini chocolate mousse offerings create a layered chocolate experience that guests will love.
- Nutty Granola Bars: Chewy granola bars topped with nuts provide a crunchy contrast to the smoothness of the pie.
- Coconut Macaroons: These sweet treats add a chewy texture that complements chocolate well.
- Coffee or Espresso: A strong cup of coffee enhances the flavors of chocolate while providing a nice caffeine boost.
Common Mistakes to Avoid
Making a Frozen Chocolate Pie can be simple, but there are common pitfalls that can affect the outcome. Here are some mistakes to watch for:
- Incorrect Oreo Crust Preparation: Not crushing the Oreos finely enough can lead to a crust that crumbles easily. Make sure to use a food processor for a fine consistency.
- Overbaking the Crust: Baking the crust too long can make it hard instead of crunchy. Bake just until it’s firm, about 8-10 minutes, and allow it to cool completely.
- Mismatched Chocolate Temperature: Using hot melted chocolate mixture can cause the whipped cream to deflate. Always let the chocolate cool slightly before folding in the whipped cream.
- Insufficient Freezing Time: Rushing the freezing process will result in a soft pie that won’t hold its shape. Ensure you freeze for at least 3 hours before serving.
- Skipping Garnishes: Not adding garnishes like extra whipped cream or broken Symphony bars can make your pie look less appealing. Take the time to decorate it for a beautiful presentation.
Refrigerator Storage
- Store in an airtight container.
- Keep in the refrigerator for up to 3 days.
Freezing Frozen Chocolate Pie
- Wrap pie tightly in plastic wrap or aluminum foil.
- Freeze for up to 2 months for best quality.
Reheating Frozen Chocolate Pie
- Oven: Not recommended since this pie is best served frozen.
- Microwave: Use low power and heat in short bursts if needed, but keep it cold for optimal taste.
- Stovetop: Also not recommended; serve directly from the freezer for best texture.
Frequently Asked Questions
How long does it take to make Frozen Chocolate Pie?
It takes about 20 minutes of prep time, plus at least 3 hours of freezing time before serving.
Can I use different chocolate bars?
Yes! You can customize your Frozen Chocolate Pie with various chocolate bars like milk chocolate or dark chocolate based on your preference.
What can I substitute for Symphony bars?
You can use regular milk chocolate bars or any favorite candy bar that melts well, such as caramel-filled chocolate bars.
Is this recipe suitable for special diets?
While this recipe contains dairy and gluten, you can modify it using gluten-free Oreos and dairy alternatives to suit dietary needs.
How should I serve Frozen Chocolate Pie?
Let it sit at room temperature for about 10 minutes before slicing. You can garnish with additional whipped cream and chocolate shavings if desired.
Final Thoughts
This Frozen Chocolate Pie is not only rich and decadent but also incredibly versatile. You can customize it with different chocolates or toppings based on your preferences. It’s perfect for special occasions or just a sweet treat at home. Try making it today and impress your family and friends!
Did You Enjoy Making This Recipe? Please rate this recipe with ⭐⭐⭐⭐⭐ or leave a comment.
📖 Recipe Card
Print
Frozen Chocolate Pie
- Total Time: 30 minutes
- Yield: Serves approximately 8 slices 1x
Description
Indulge in the ultimate dessert experience with this Frozen Chocolate Pie, where creamy melted Symphony bars meet a crunchy Oreo crust. Perfect for any occasion, this pie is a crowd-pleaser that combines rich chocolate flavor with delightful toffee notes. With only 20 minutes of prep time, it’s an easy treat to whip up for birthdays, dinner parties, or simply satisfying your sweet cravings. Impress your family and friends with this elegant dessert that’s as delightful to look at as it is to eat!
Ingredients
- 18 Oreos, finely crushed
- 3 Tbsp butter, melted
- 2 (4.25 oz) Symphony bars
- 1/4 cup milk
- 1 cup cream, whipped
- 1 tsp vanilla
Instructions
- Preheat oven to 375°F (190°C). Combine crushed Oreos and melted butter in a bowl; mix well.
- Press mixture into a 9-inch pie plate and bake for 8-10 minutes until set. Cool completely.
- In a microwave-safe bowl, melt Symphony bars with milk until smooth. Let cool slightly.
- Whip cream in a separate bowl until stiff peaks form; gently fold in vanilla and the cooled chocolate mixture.
- Pour filling into the cooled crust and freeze for at least 3 hours before serving.
- Prep Time: 20 minutes
- Cook Time: 10 minutes
- Category: Dessert
- Method: Baking
- Cuisine: American
Nutrition
- Serving Size: 1 serving
- Calories: 360
- Sugar: 28g
- Sodium: 250mg
- Fat: 22g
- Saturated Fat: 12g
- Unsaturated Fat: 8g
- Trans Fat: 0g
- Carbohydrates: 36g
- Fiber: 2g
- Protein: 4g
- Cholesterol: 35mg
