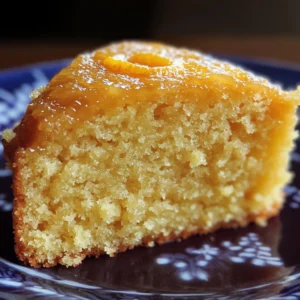
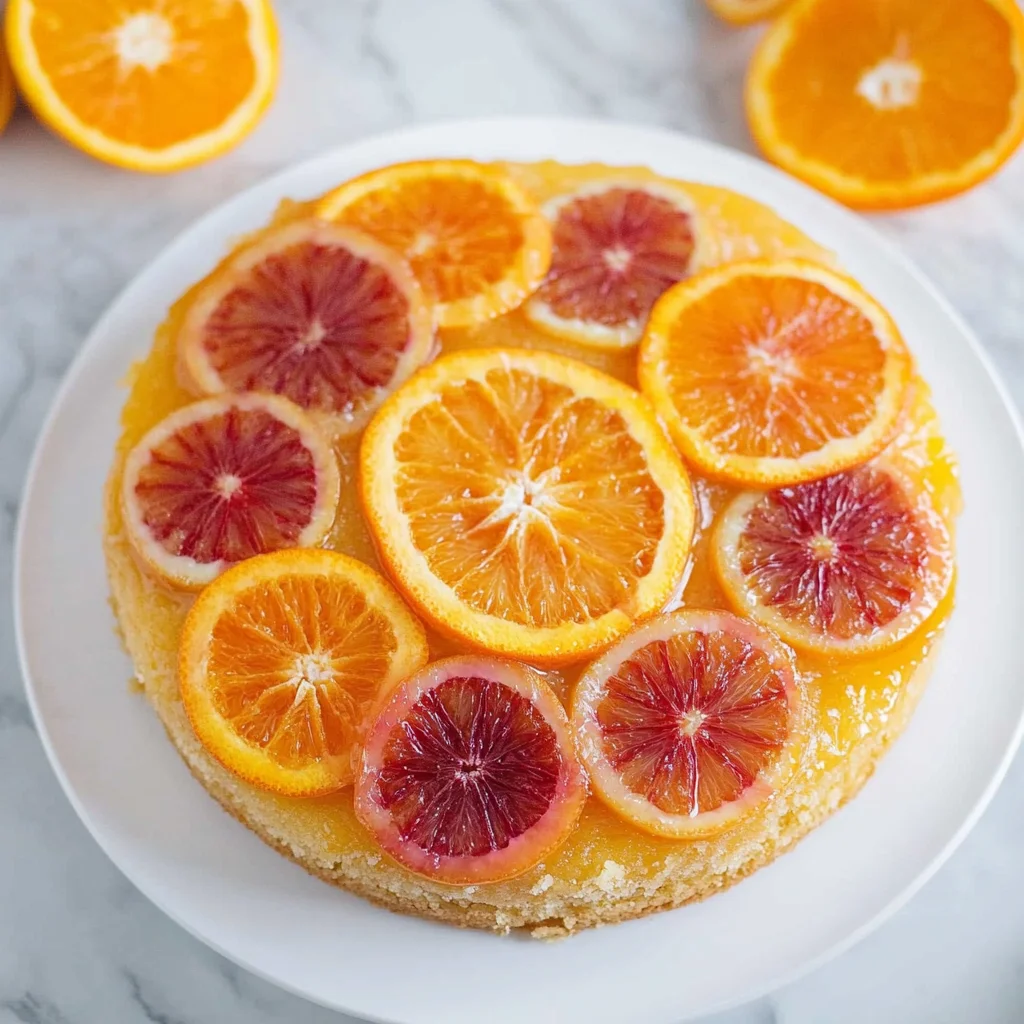
A delicious Orange Upside Down Cake showcases the vibrant flavors of candied blood orange slices. This cake is perfect for any occasion, whether it’s a casual family gathering or a festive celebration. With its stunning presentation and delightful taste, this dessert will surely impress your guests.
Jump to:
- Why You’ll Love This Recipe
- Tools and Preparation
- Essential Tools and Equipment
- Importance of Each Tool
- Ingredients
- For the Cake Base
- For Garnish
- How to Make Orange Upside Down Cake
- Step 1: Prepare Your Oranges
- Step 2: Create the Caramel Layer
- Step 3: Preheat the Oven
- Step 4: Arrange Orange Slices
- Step 5: Mix Dry Ingredients
- Step 6: Cream Butter and Sugar
- Step 7: Combine Wet Ingredients
- Step 8: Combine All Mixtures
- Step 9: Bake
- Step 10: Cool and Serve
- How to Serve Orange Upside Down Cake
- With Fresh Whipped Cream
- A Scoop of Vanilla Ice Cream
- Drizzled with Citrus Glaze
- Garnished with Fresh Mint
- Served Alongside Berries
- How to Perfect Orange Upside Down Cake
- Best Side Dishes for Orange Upside Down Cake
- Common Mistakes to Avoid
- Refrigerator Storage
- Freezing Orange Upside Down Cake
- Reheating Orange Upside Down Cake
- Frequently Asked Questions
- What makes an Orange Upside Down Cake special?
- Can I use different types of oranges?
- How do I enhance the flavor of my Orange Cake With Orange Slices?
- Can I make this cake ahead of time?
- Final Thoughts
- 📖 Recipe Card
Why You’ll Love This Recipe
- Easy to Make: This orange upside down cake requires minimal effort, making it a great choice for bakers of all skill levels.
- Flavorful Experience: The combination of blood oranges and navel oranges creates a unique and refreshing flavor that stands out.
- Versatile Dessert: Perfect for brunch, dessert, or even an afternoon snack, this cake fits any occasion.
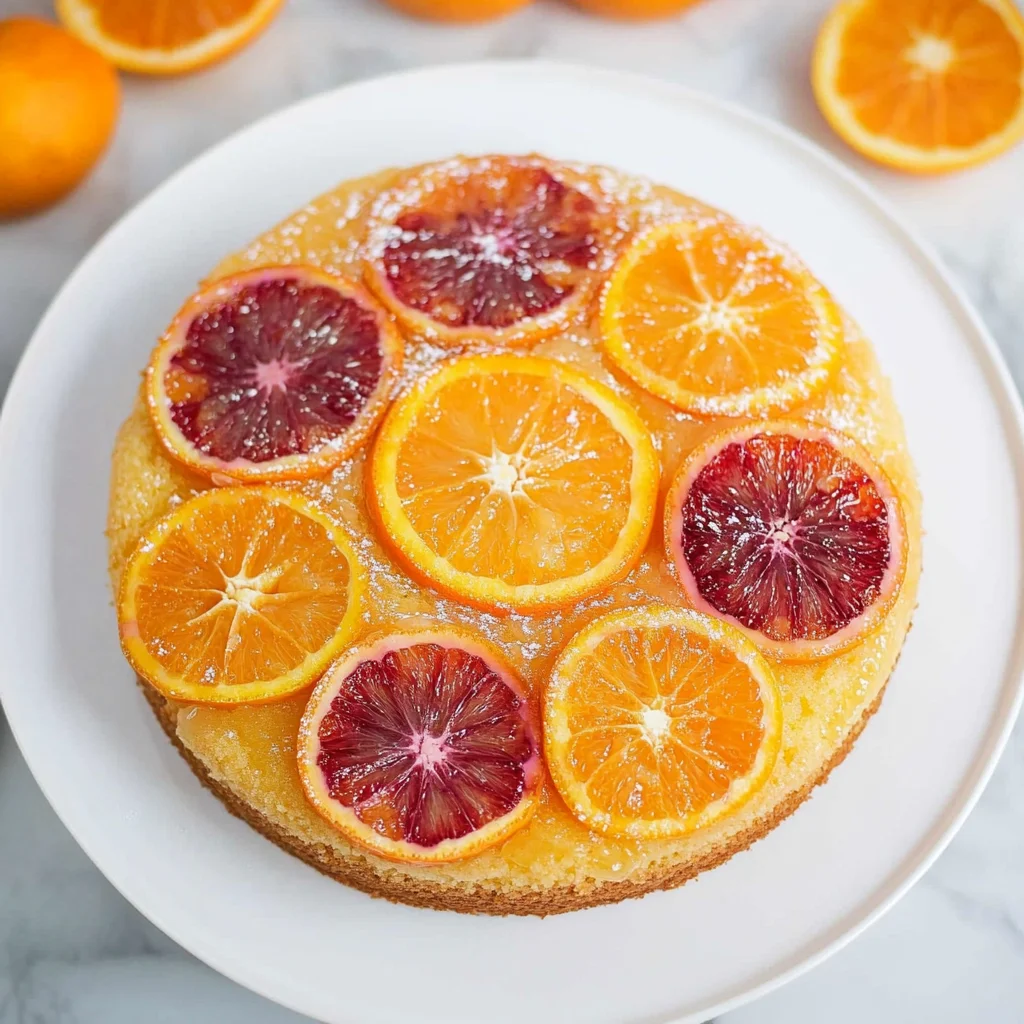
- Stunning Presentation: The beautiful caramelized orange slices on top make this cake not just tasty, but visually appealing as well.
- Moist and Delicious: Thanks to the sour cream and freshly squeezed juice, this cake stays moist and flavorful.
Tools and Preparation
Before you start baking, gather the essential tools to ensure a smooth process.
Essential Tools and Equipment
- 9-inch round cake pan
- Mixing bowls
- Whisk
- Rubber spatula
- Measuring cups and spoons
Importance of Each Tool
- 9-inch round cake pan: This size ensures even baking and provides the perfect shape for an upside-down cake.
- Mixing bowls: Having multiple bowls helps keep your ingredients organized during preparation.
- Rubber spatula: A good spatula is essential for folding batter gently without deflating it.
Ingredients
A delicious and easy orange upside down cake featuring beautiful candied blood orange slices.
For the Cake Base
- 1 blood orange
- 1 navel orange
- 2 cups water
- 1 ½ cups granulated sugar
- 4 tsps grated orange zest from about 2 large oranges
- 1 cup strained fresh orange juice (you can add the juice of a lemon if you’d like some more zing)
- 2 1/4 cups all-purpose flour
- 2 1/2 tsps baking powder
- 1 tsp kosher salt
- 1 1/2 cups granulated sugar
- 1/3 cup unsalted butter
- 1/3 cup sour cream
- 3 large eggs
For Garnish
- 2 tablespoons fresh parsley, finely chopped

How to Make Orange Upside Down Cake
Step 1: Prepare Your Oranges
Begin by preparing the oranges. Slice the blood orange and navel orange into thin rounds. Remove any seeds.
Step 2: Create the Caramel Layer
In a saucepan over medium heat, combine 1 ½ cups of granulated sugar with 2 cups of water. Stir until dissolved. Add the sliced oranges to the syrup and simmer for about 10 minutes until they soften slightly. Remove from heat.
Step 3: Preheat the Oven
Preheat your oven to 350°F (175°C). Grease your cake pan with butter to prevent sticking.
Step 4: Arrange Orange Slices
Pour a bit of syrup into the bottom of the prepared pan. Arrange the candied orange slices in a circular pattern on top of the syrup.
Step 5: Mix Dry Ingredients
In a mixing bowl, whisk together flour, baking powder, and kosher salt until well combined.
Step 6: Cream Butter and Sugar
In another bowl, beat together unsalted butter with remaining granulated sugar until light and fluffy. Add in eggs one at a time, mixing well after each addition.
Step 7: Combine Wet Ingredients
Mix in grated orange zest and sour cream with fresh orange juice into the butter mixture until smooth.
Step 8: Combine All Mixtures
Gradually add dry ingredients to the wet mixture using a rubber spatula. Mix until just combined; do not overmix.
Step 9: Bake
Pour batter over arranged oranges in the pan. Bake for about 35 minutes or until golden brown and a toothpick inserted comes out clean.
Step 10: Cool and Serve
Allow your cake to cool for about 10 minutes before inverting onto a serving plate. Serve warm or at room temperature. Enjoy your delightful Orange Upside Down Cake!
How to Serve Orange Upside Down Cake
Serving your Orange Upside Down Cake can elevate any occasion. This sweet treat pairs well with a variety of toppings and accompaniments that enhance its citrus flavors.
With Fresh Whipped Cream
- Whipped cream adds a light, creamy texture that complements the cake’s sweetness.
A Scoop of Vanilla Ice Cream
- The cold, creamy ice cream contrasts beautifully with the warm cake, creating a delightful experience.
Drizzled with Citrus Glaze
- A simple glaze made from powdered sugar and orange juice enhances the cake’s orange essence while adding sweetness.
Garnished with Fresh Mint
- Fresh mint leaves provide a pop of color and a refreshing taste that balances the cake’s richness.
Served Alongside Berries
- Fresh strawberries, blueberries, or raspberries add a tart flavor that pairs well with the sweet oranges.
How to Perfect Orange Upside Down Cake
Creating the perfect Orange Upside Down Cake involves attention to detail. Here are some tips to ensure success:
- Use fresh oranges: Fresh citrus gives the best flavor and aroma for your cake.
- Thinly slice oranges: Thin slices will caramelize better and create an attractive top layer.
- Properly grease the pan: Ensure your baking pan is well greased to avoid sticking when you flip the cake.
- Bake until golden: Keep an eye on the cake as it bakes; it should be golden brown and spring back when lightly touched.
- Let it cool slightly before serving: Allowing it to cool for a bit makes slicing easier and maintains its shape.

Best Side Dishes for Orange Upside Down Cake
Pairing side dishes with your Orange Upside Down Cake can enhance your dessert experience. Here are some great options:
- Citrus Salad
A refreshing salad made with mixed greens, orange segments, and a light vinaigrette. - Cheese Platter
Include a variety of cheeses like goat cheese or brie that complement the citrus notes. - Herbed Quinoa
Light and fluffy quinoa tossed with herbs provides a nutritious balance to the sweetness of the cake. - Roasted Nuts
A mix of roasted almonds or walnuts offers a crunchy texture that contrasts nicely with soft cake. - Chilled Fruit Soup
A light fruit soup made from seasonal fruits adds freshness and can be served as an appetizer or side dish. - Yogurt Parfait
Layers of yogurt, granola, and fruits create a healthy side option that pairs well with dessert.
Common Mistakes to Avoid
Baking can be tricky, especially with an Orange Upside Down Cake. Here are some common mistakes to watch for.
- Using old oranges: Fresh fruit is key for flavor. Always choose ripe, juicy oranges for the best taste and presentation.
- Not greasing the pan properly: A well-greased pan ensures the cake releases easily. Use butter or cooking spray to coat the pan thoroughly.
- Overmixing the batter: Overmixing can lead to a dense cake. Mix just until combined for a light and fluffy texture.
- Skipping the orange zest: The zest adds essential flavor. Don’t skip this step; it enhances the overall taste of the cake.
- Cutting too soon: Letting the cake cool before cutting is crucial. This helps maintain its structure and ensures clean slices.
Refrigerator Storage
- Store in an airtight container.
- Keep in the refrigerator for up to 5 days.
Freezing Orange Upside Down Cake
- Wrap slices tightly in plastic wrap.
- Place in a freezer-safe container for up to 3 months.
Reheating Orange Upside Down Cake
- Oven: Preheat to 350°F (175°C) and warm for about 10-15 minutes until heated through.
- Microwave: Heat individual slices on medium power for 20-30 seconds, checking frequently.
- Stovetop: Use a skillet over low heat, cover, and warm for about 5 minutes, flipping once.
Frequently Asked Questions
What makes an Orange Upside Down Cake special?
An Orange Upside Down Cake is unique due to its stunning presentation of caramelized oranges on top. The combination of sweet and tangy flavors creates a delightful dessert experience.
Can I use different types of oranges?
Yes! While blood oranges add beautiful color, you can mix navel oranges or even tangerines. Each variety will give a slightly different taste.
How do I enhance the flavor of my Orange Cake With Orange Slices?
Adding lemon juice or zest can provide a refreshing zing that complements the sweetness of the oranges beautifully.
Can I make this cake ahead of time?
Absolutely! You can prepare this cake a day in advance. Just store it properly in the refrigerator to keep it fresh until serving.
Final Thoughts
This Orange Upside Down Cake is not only visually appealing but also bursting with flavor. It’s perfect for any occasion and allows for customization with various citrus fruits or toppings. We encourage you to try this recipe and experiment with your own twist!
Did You Enjoy Making This Recipe? Please rate this recipe with ⭐⭐⭐⭐⭐ or leave a comment.
📖 Recipe Card
Print
Orange Upside Down Cake
- Total Time: 55 minutes
- Yield: Serves approximately 8 slices 1x
Description
Indulge in the delightful experience of making an Orange Upside Down Cake, a stunning dessert that combines the sweet and tangy flavors of blood oranges and navel oranges. This cake is perfect for any occasion, from casual family gatherings to festive celebrations. With its beautiful caramelized orange topping and moist texture, it promises to impress your guests with every slice. Easy to prepare, this recipe is suitable for bakers of all skill levels, ensuring a flavorful and visually appealing treat that will leave everyone wanting more.
Ingredients
- 1 blood orange
- 1 navel orange
- 2 cups water
- 1 ½ cups granulated sugar
- 4 tsps grated orange zest
- 1 cup strained fresh orange juice
- 2 ¼ cups all-purpose flour
- 2 ½ tsps baking powder
- 1 tsp kosher salt
- 1/3 cup unsalted butter
- 1/3 cup sour cream
- 3 large eggs
Instructions
- Slice the blood and navel oranges into thin rounds, removing any seeds.
- In a saucepan over medium heat, combine 1 ½ cups of granulated sugar with 2 cups of water until dissolved. Add the sliced oranges and simmer for about 10 minutes; then remove from heat.
- Preheat your oven to 350°F (175°C) and grease a 9-inch round cake pan.
- Pour some syrup into the bottom of the pan and arrange the candied orange slices on top.
- In a mixing bowl, whisk flour, baking powder, and salt together.
- In another bowl, cream together the butter and remaining sugar until fluffy. Add eggs one at a time, mixing well after each addition.
- Mix in orange zest and sour cream with fresh orange juice until smooth.
- Gradually add dry ingredients to wet mixture using a rubber spatula until just combined.
- Pour batter over arranged oranges and bake for about 35 minutes or until golden brown.
- Allow cooling for about 10 minutes before inverting onto a serving plate.
- Prep Time: 20 minutes
- Cook Time: 35 minutes
- Category: Dessert
- Method: Baking
- Cuisine: American
Nutrition
- Serving Size: 1 slice (100g)
- Calories: 320
- Sugar: 32g
- Sodium: 150mg
- Fat: 12g
- Saturated Fat: 7g
- Unsaturated Fat: 4g
- Trans Fat: 0g
- Carbohydrates: 50g
- Fiber: 2g
- Protein: 4g
- Cholesterol: 80mg