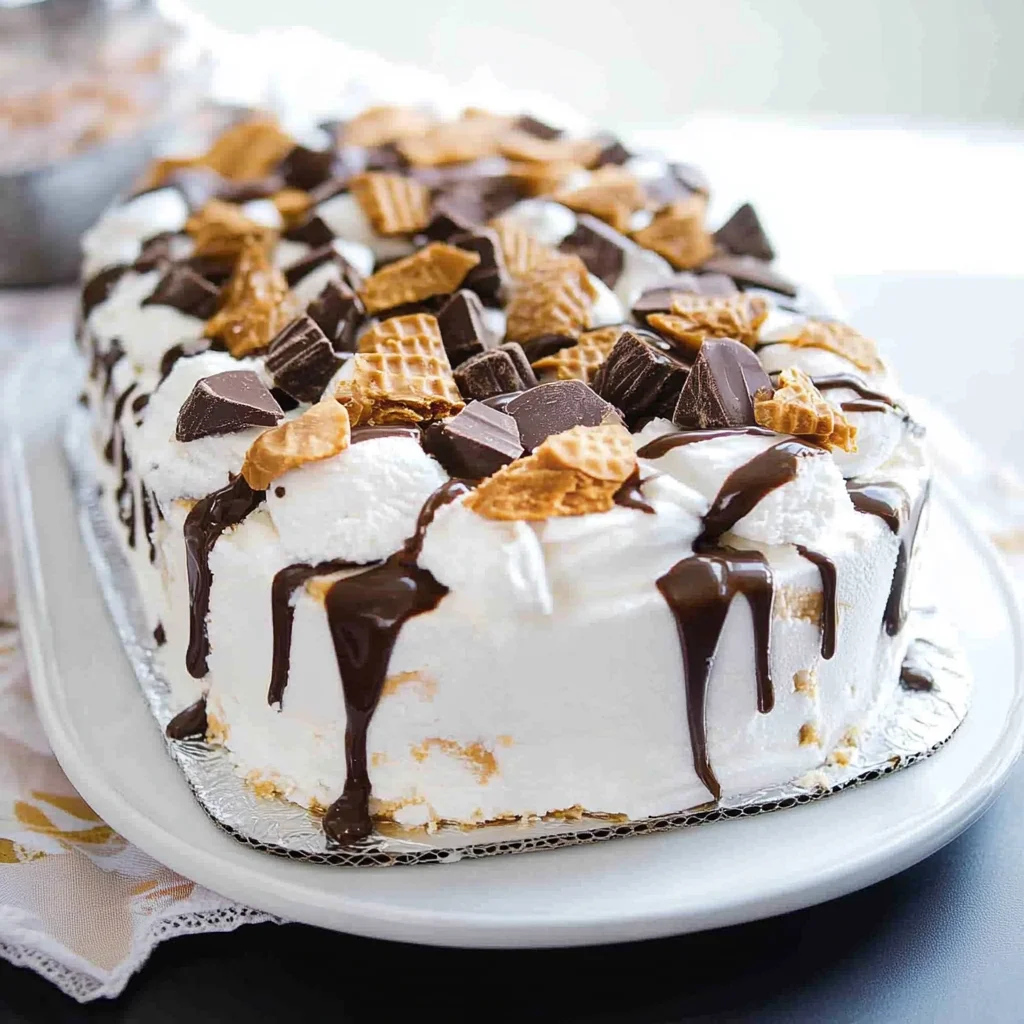
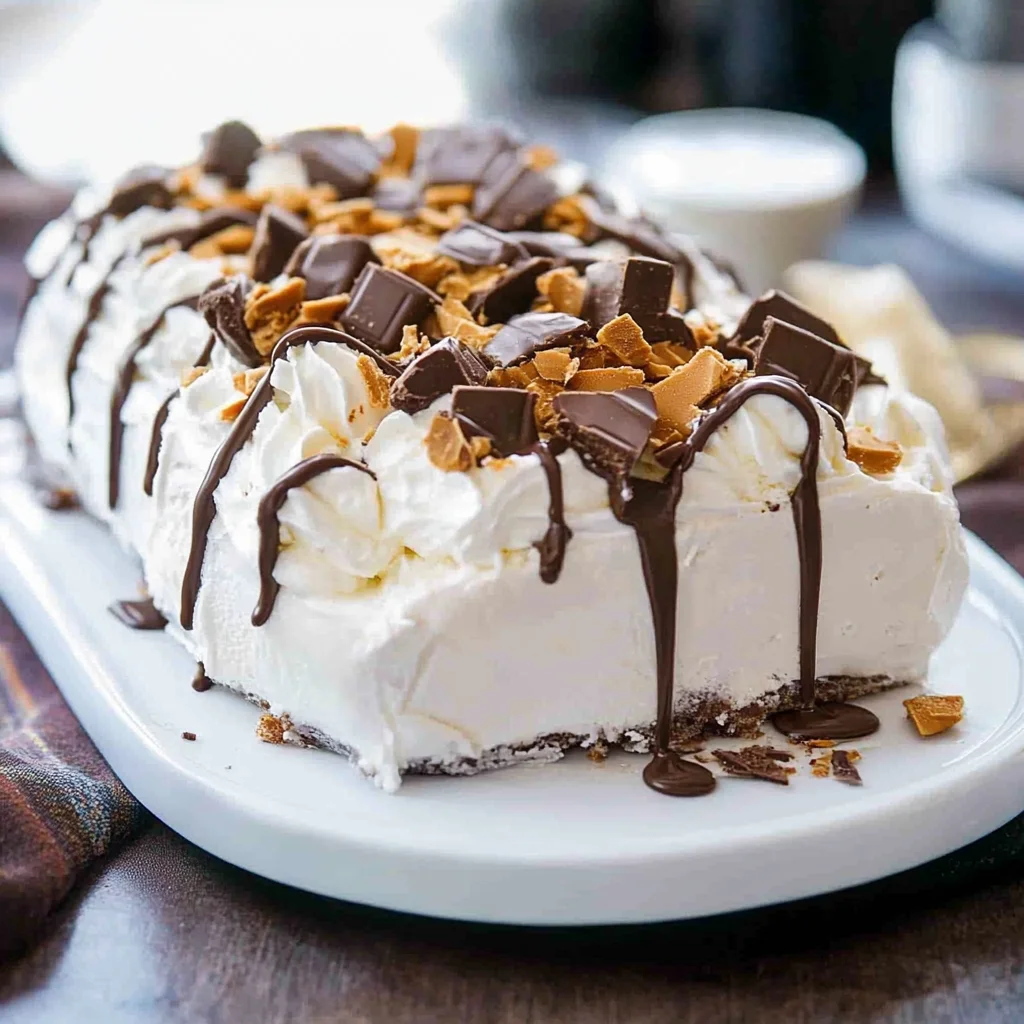
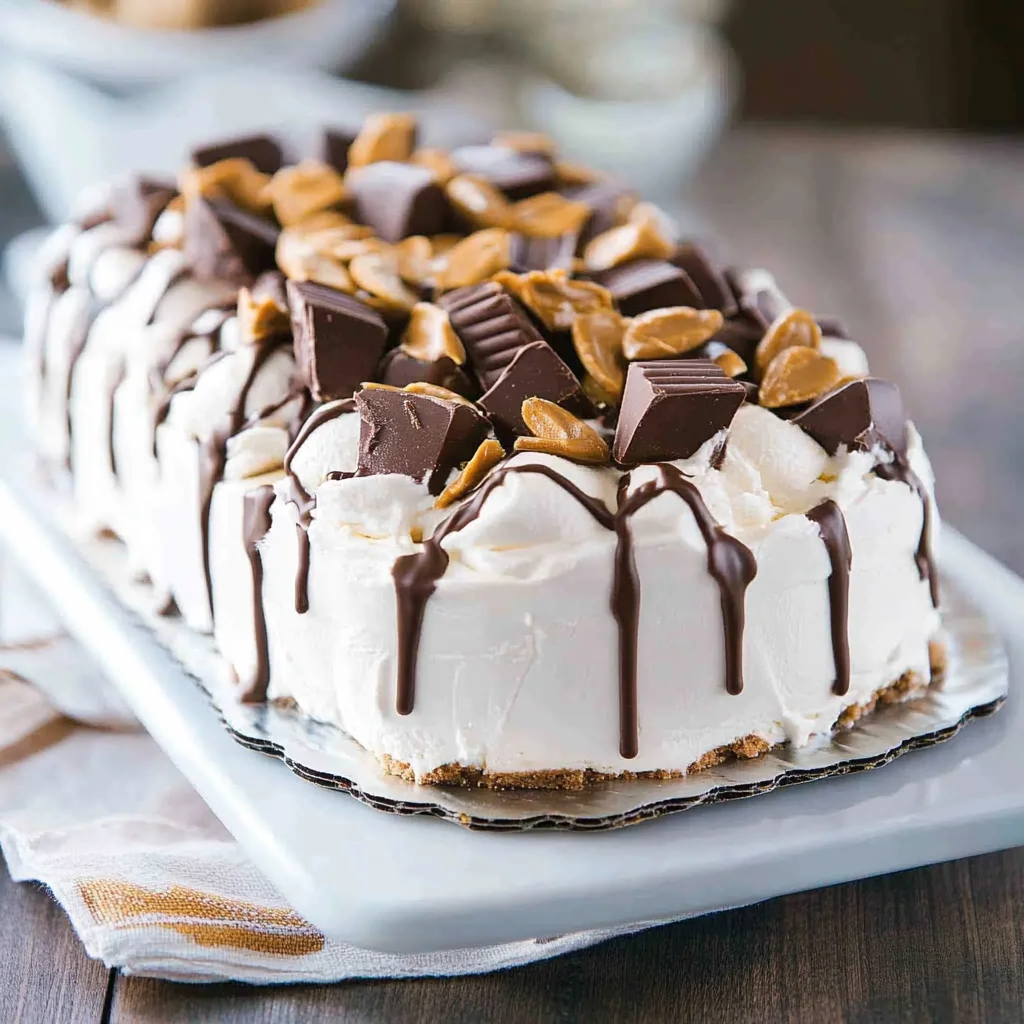
Chocolate and peanut butter lovers rejoice! This Reese’s Ice Cream Cake is a delightful combination of flavors that’s perfect for any occasion. Whether it’s a birthday party, summer barbecue, or simply a sweet treat at home, this ice cream cake will surely impress your guests. Its layers of creamy goodness and crunchy peanut butter cups make it a standout dessert that everyone will love.
Jump to:
- Why You’ll Love This Recipe
- Tools and Preparation
- Essential Tools and Equipment
- Importance of Each Tool
- Ingredients
- For the Cake Layers
- For the Sauces
- For the Topping
- How to Make Reese’s Ice Cream Cake
- Step 1: Prepare the Base
- Step 2: Add More Layers
- Step 3: Complete the Cake Structure
- Step 4: Final Touches
- Step 5: Freeze Before Serving
- How to Serve Reese’s Ice Cream Cake
- Individual Slices
- Party Platter
- Ice Cream Sundae Style
- With Fresh Fruit
- How to Perfect Reese’s Ice Cream Cake
- Best Side Dishes for Reese’s Ice Cream Cake
- Common Mistakes to Avoid
- Storage & Reheating Instructions
- Refrigerator Storage
- Freezing Reese’s Ice Cream Cake
- Reheating Reese’s Ice Cream Cake
- Frequently Asked Questions
- Can I make Reese’s Ice Cream Cake ahead of time?
- What can I substitute for peanut butter?
- How long does Reese’s Ice Cream Cake last?
- Can I customize this ice cream cake?
- Is Reese’s Ice Cream Cake suitable for kids?
- Final Thoughts
- 📖 Recipe Card
Why You’ll Love This Recipe
- Easy to Prepare: With just a few simple steps, you can whip up this delicious cake in no time.
- Decadent Flavor: The rich combination of chocolate, peanut butter, and caramel creates an irresistible taste.
- Perfect for Any Occasion: Celebrate birthdays, holidays, or casual get-togethers with this crowd-pleaser.
- Versatile Dessert: Customize with your favorite toppings or sauces to make it uniquely yours.
- No-Bake Delight: Enjoy a frozen treat without turning on the oven—perfect for hot days!
Tools and Preparation
Before you dive into making your Reese’s Ice Cream Cake, gather some essential tools. Having everything ready ensures a smooth preparation process.
Essential Tools and Equipment
- Mixing bowl
- Serving platter
- Spatula
- Measuring cups
Importance of Each Tool
- Mixing bowl: Necessary for combining ingredients and making layering easier.
- Serving platter: A large surface allows for beautiful presentation of your ice cream cake.
- Spatula: Use this handy tool to spread whipped topping evenly for a polished look.
Ingredients
Chocolate and peanut butter come together in this simple, crowd-pleasing ice cream cake!
For the Cake Layers
- 18 vanilla ice cream sandwiches
- 1 cup peanut butter, melted
- 1 9.5 oz package Reese’s peanut butter cups (12 total)
For the Sauces
- 6 tablespoons caramel sauce
- 6 tablespoons hot fudge sauce
For the Topping
- 2 8 oz containers whipped topping
How to Make Reese’s Ice Cream Cake
Step 1: Prepare the Base
Arrange six ice cream sandwiches on a serving platter. Drizzle half of the melted peanut butter over top. Then, drizzle two tablespoons of the caramel sauce and the hot fudge sauce. Top with a third of the chopped Reese’s candies.
Step 2: Add More Layers
Next, arrange six more ice cream sandwiches on top. Drizzle the remaining melted peanut butter over these sandwiches as well. Again, drizzle two tablespoons each of caramel and hot fudge sauces. Finish by adding another third of the chopped Reese’s candies.
Step 3: Complete the Cake Structure
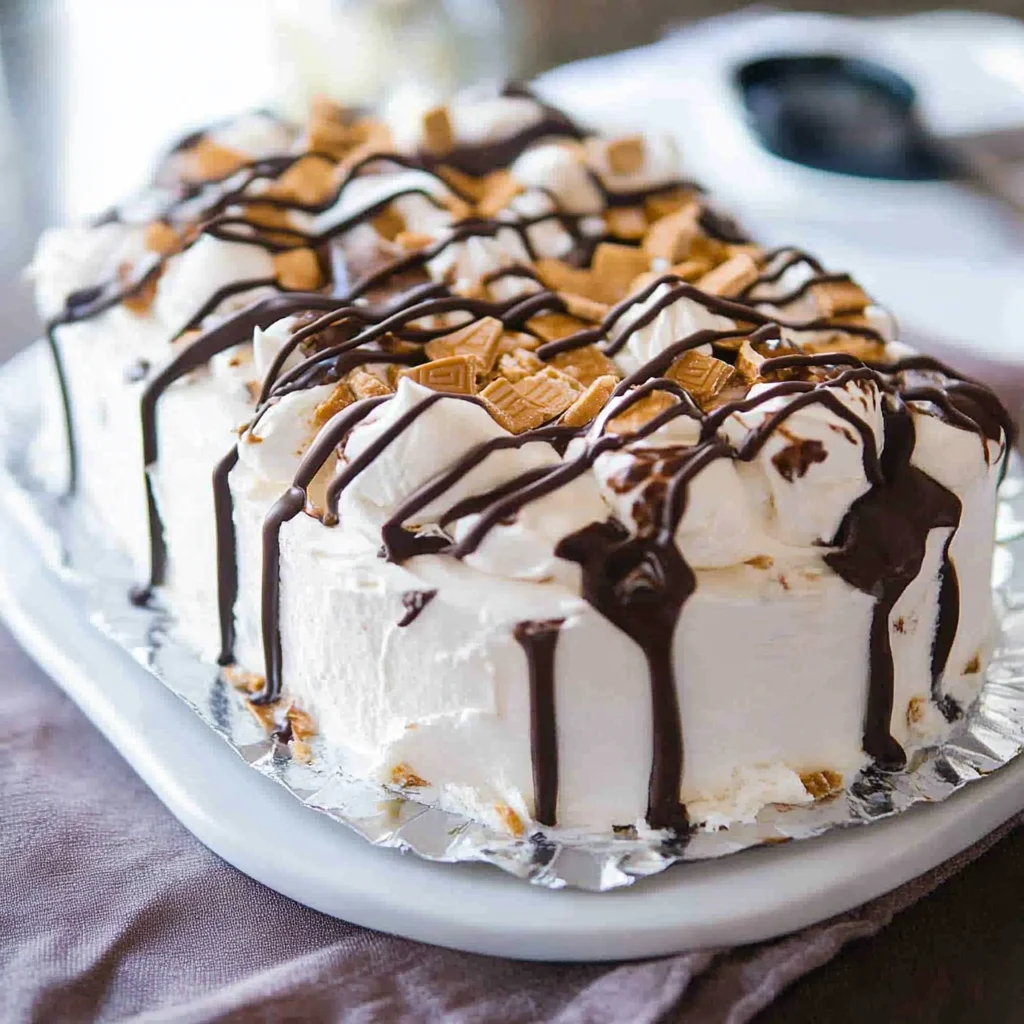
Top with the remaining ice cream sandwiches to create a final layer. Surround this layer with whipped topping to create a beautiful border.
Step 4: Final Touches
Drizzle the remaining caramel and hot fudge sauces over the top of your cake. Then sprinkle with any leftover chopped chocolates for extra flair.
Step 5: Freeze Before Serving
Allow your cake to set in the freezer for at least 30 minutes but preferably between 3 to 4 hours before serving. This will help it hold its shape when sliced!
How to Serve Reese’s Ice Cream Cake
Serving Reese’s Ice Cream Cake is all about creativity and presentation. This delicious dessert can be enjoyed in several delightful ways that will impress your guests and satisfy their sweet cravings.
Individual Slices
- Serve each slice on a decorative plate for an elegant touch.
- Drizzle extra caramel or hot fudge over the top for added flavor.
Party Platter
- Cut the cake into smaller squares for easy sharing.
- Arrange on a large platter with additional Reese’s cups scattered around for decoration.
Ice Cream Sundae Style
- Scoop portions of the ice cream cake into bowls.
- Top with whipped cream, chopped nuts, or chocolate sprinkles for a fun twist.
With Fresh Fruit
- Serve alongside fresh strawberries or banana slices to balance the sweetness.
- A scoop of vanilla ice cream can enhance this refreshing pairing.
How to Perfect Reese’s Ice Cream Cake
Creating the perfect Reese’s Ice Cream Cake involves a few simple tips that can elevate your dessert game. Follow these suggestions to ensure your cake is a hit!
- Chill your tools: Before starting, place your mixing bowls and utensils in the freezer. This helps keep the whipped topping firm during preparation.
- Use softened peanut butter: Ensure your peanut butter is slightly warmed but not hot. This makes it easier to drizzle without melting the ice cream sandwiches.
- Layer carefully: When stacking your ice cream sandwiches, press down gently to avoid squishing but ensure they stick together well.
- Allow ample freezing time: After assembling, let the cake freeze for at least 4 hours. This helps all layers set properly and makes cutting easier.
- Customize toppings: Feel free to add your favorite toppings like crushed cookies or different candy bars instead of just Reese’s cups.
Best Side Dishes for Reese’s Ice Cream Cake
Pairing side dishes with your Reese’s Ice Cream Cake can enhance the overall experience. Here are some delightful options that complement this decadent dessert perfectly:
- Chocolate Chip Cookies
Classic cookies that pair well with any ice cream dessert. Bake them fresh for an added touch. - Fruit Salad
A mix of seasonal fruits provides a refreshing contrast to the richness of the cake. - Peanut Butter Brownies
Rich and fudgy brownies bring out the peanut butter flavor in the cake while adding texture. - Chocolate Milkshakes
A creamy shake can serve as a fun drink option alongside slices of cake. - Mini Cheesecakes
These bite-sized treats offer a tangy balance to the sweet flavors of the ice cream cake. - Caramel Popcorn
Sweet and crunchy popcorn adds a fun snack element to your dessert spread.
Common Mistakes to Avoid
Making Reese’s Ice Cream Cake can be fun, but it’s important to avoid common pitfalls to ensure your dessert is a hit. Here are some mistakes to watch out for:
- Skipping the Freezer Time: Not allowing the cake to set properly can result in a messy presentation. Make sure to freeze the cake for at least 30 minutes to 4 hours.
- Overloading on Toppings: While toppings are delicious, piling on too many can overwhelm the flavors. Stick to the recommended amounts for a balanced taste.
- Using Softened Ice Cream Sandwiches: If your ice cream sandwiches are too soft, they won’t hold up well. Ensure they are frozen solid before assembling your cake.
- Neglecting Presentation: A beautiful dessert attracts more attention. Take time to drizzle sauces and arrange candies neatly for an appealing look.
- Ignoring Allergies: Peanut butter lovers will adore this recipe, but consider guests who may have allergies. Offer alternatives or label clearly if serving at an event.
Storage & Reheating Instructions
Refrigerator Storage
- Store in an airtight container for up to 2 days.
- Place wax paper between layers if stacking for easier serving later.
Freezing Reese’s Ice Cream Cake
- Wrap tightly in plastic wrap or aluminum foil.
- Can be stored in the freezer for up to 2 months without losing flavor.
Reheating Reese’s Ice Cream Cake
- Oven: Preheat to 350°F and warm individual slices for about 10 minutes. This can slightly soften the cake while keeping it delicious.
- Microwave: Heat a slice on medium power for 20-30 seconds. Be careful not to melt it completely; a slight chill is nice!
- Stovetop: Place a slice in a non-stick skillet over low heat until warmed through. This method helps maintain some of the original texture.
Frequently Asked Questions
Here are some common questions about making and enjoying Reese’s Ice Cream Cake:
Can I make Reese’s Ice Cream Cake ahead of time?
Yes, this cake can be made ahead of time and stored in the freezer. Just remember to allow enough time for it to set properly before serving.
What can I substitute for peanut butter?
If you want a nut-free option, use sunflower seed butter as an alternative that still offers great flavor and texture.
How long does Reese’s Ice Cream Cake last?
When stored properly in the freezer, this cake will last up to 2 months, making it perfect for advance preparation for parties or gatherings.
Can I customize this ice cream cake?
Absolutely! Feel free to experiment with different ice cream flavors or toppings like crushed Oreos or fresh fruit depending on your preferences.
Is Reese’s Ice Cream Cake suitable for kids?
Yes! This cake is a kid-friendly dessert that combines sweetness with fun textures, making it ideal for birthday parties or family gatherings.
Final Thoughts
This Reese’s Ice Cream Cake is not only easy to make but also incredibly versatile. With its rich chocolate and peanut butter flavors, it is sure to delight everyone at your table. Don’t hesitate to customize it with your favorite toppings or mix-ins! Give this dessert a try at your next gathering; you’re bound to impress your friends and family!
Did You Enjoy Making This Recipe? Please rate this recipe with ⭐⭐⭐⭐⭐ or leave a comment.
📖 Recipe Card
Print
Reese’s Ice Cream Cake
- Total Time: 0 hours
- Yield: Serves 12 1x
Description
Indulge in the rich flavors of this Reese’s Ice Cream Cake, a heavenly dessert that brings together chocolate, peanut butter, and creamy goodness in every bite. Perfect for any gathering—be it a birthday party or a summer barbecue—this no-bake cake is sure to impress both family and friends. With layers of vanilla ice cream sandwiches, melted peanut butter, and crunchy Reese’s cups, this treat delivers a delightful combination of textures and flavors. Easy to assemble and customizable with your favorite toppings, this cake is not just a dessert; it’s an experience that everyone will love.
Ingredients
- 18 vanilla ice cream sandwiches
- 1 cup melted peanut butter
- 1 package (9.5 oz) Reese's peanut butter cups (12 total)
- 6 tablespoons caramel sauce
- 6 tablespoons hot fudge sauce
- 2 containers (8 oz each) whipped topping
Instructions
- On a serving platter, arrange six ice cream sandwiches. Drizzle half the melted peanut butter followed by two tablespoons each of caramel and hot fudge sauce. Top with one-third of the chopped Reese's cups.
- Repeat layering with six more ice cream sandwiches, remaining melted peanut butter, two tablespoons of caramel and hot fudge sauces, and another third of the chopped Reese's.
- Finish with the last layer of ice cream sandwiches surrounded by whipped topping.
- Drizzle remaining caramel and hot fudge on top and sprinkle with any leftover chopped candies.
- Freeze for at least 3 to 4 hours before serving.
- Prep Time: 30 minutes
- Cook Time: None
- Category: Dessert
- Method: No-Bake
- Cuisine: American
Nutrition
- Serving Size: 1 serving
- Calories: 340
- Sugar: 28g
- Sodium: 210mg
- Fat: 20g
- Saturated Fat: 8g
- Unsaturated Fat: 10g
- Trans Fat: 0g
- Carbohydrates: 36g
- Fiber: 2g
- Protein: 5g
- Cholesterol: 15mg
